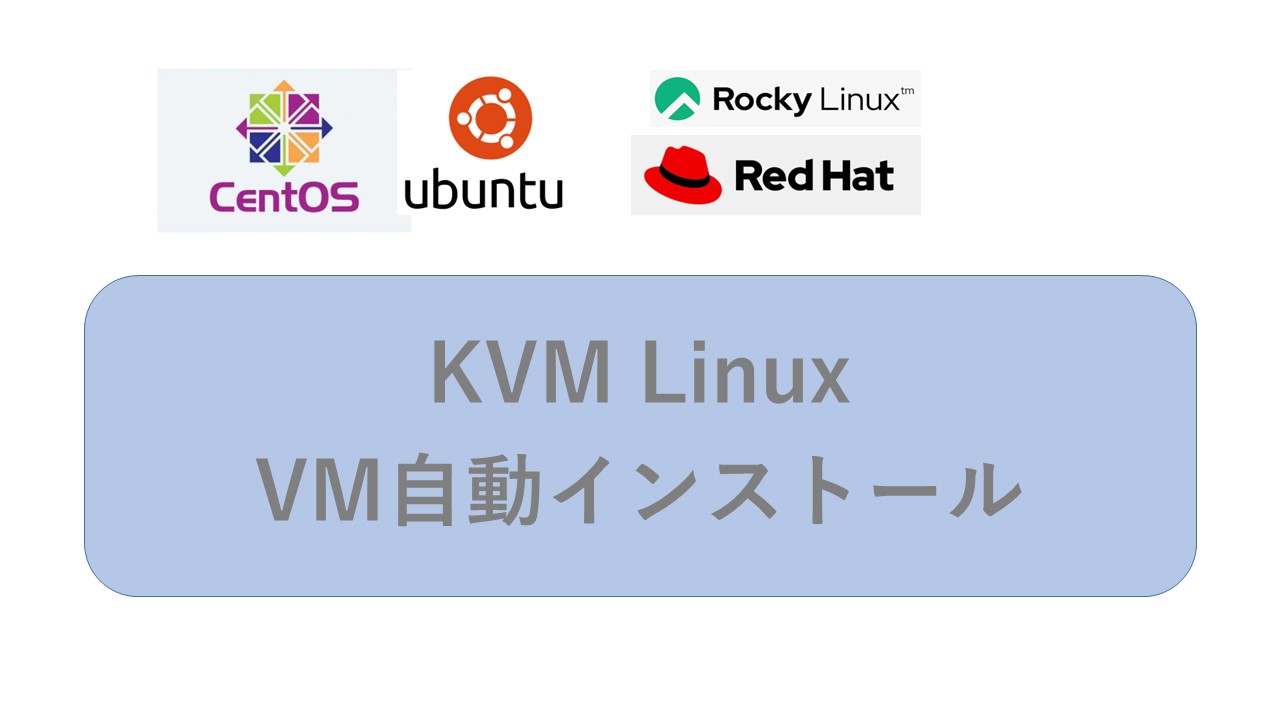
virt-installコマンドでKVM上にLinux仮想マシン(ゲストVM)を自動で作成する方法を紹介します。
通常、LinuxのOSインストーラが起動されて以下の設定を手作業で行う必要がありますが、事前にファイルにインストール時の情報を書いて置くと設定された状態でインストールできます。
・インストールするパッケージを指定
・タイムゾーンの設定
・rootのパスワード設定
・ネットワークの設定
更にインストール後に手動で設定していた以下のようなことを後処理(Post処理)に指定できます。
・rootの .bash_profileの編集
・不要なサービスの停止(Firewallの停止/無効化)
今回は、RHEL系のOSで確認しました。Ubuntuも基本のやり方は同じです。
同系統のOSでは、同じKickStartファイル(*.cfg)が使えます。
・RockyLinux 8 、RockyLinux 9
・Red Hat Enterprise Linux 8 、Red Hat Enterprise Linux 9
・AlmaLinux 9
KVMの基本は以下の記事を参照ください。
事前準備
・インストールOSのISOファイル
インターネットから直接取得する方法もありますが、何回かVMを作成することが多いのでISOファイルをダウンロードします。
・KickStart用ファイル(*.cfg)
まず、手動インストールしたVMの/root/anaconda.cfgをベースに作成します。
一度手動でインストールして作成されたファイルを使ったほうが確実です。
似たようなKVMホストのマシン構成でも微妙にファイルの内容が違います。
virt-installの実行方法
VM自動インストールは、virt-install コマンドで実行します。
<RHEL8.6の場合> ディスク 30GB、cpu 4core, メモリ4096
# RHEL 8.6 ディスクsize=30 (GB),vcpu=4 ,メモリ ram=4096MB=4GBで作成
#

virt-install \
--name=RHEL86-Sv1 \
--location=/download/rhel-8.6-x86_64-dvd.iso \
--disk path=/vm-image/RHEL86-sv1.qcow2,size=30,format=qcow2 \
--vcpus=4 --ram=4096 \
--graphics none \
--initrd-inject /vm-image/RHEL-ks.cfg \
--extra-args="inst.ks=file:RHEL-ks.cfg hostname=RHEL86-Sv1 console=tty0 console=ttyS0,115200n8"
★変更するところ
・–name、hostname、–disk path=
(Tips)ホスト名(hostname)は、KickStartファイルでも設定できますが、
KickStartファイルは実行ごとに変更したくないので、virt-install の引数で指定します。
インストール画面
自動インストールのインストール時間はマシンのスペックで変わりますが、15分ぐらいです。
OSにインストール後の最後にEnterキーの入力を求められるので、Enterキーを押すとログイン・プロンプトが表示されます。
#

インストールは完了しました。ENTER を押して終了します:[Enterキーを押す]

Red Hat Enterprise Linux 8.6 (Ootpa)
Kernel 4.18.0-372.9.1.el8.x86_64 on an x86_64

RHEL86-Sv1 login:
————–
<RockyLinux9.2の場合> ディスク 30GB、cpu 3core, メモリ4096
# RockyLinux9.2 ディスクsize=30 (GB),vcpu=3 ,メモリ ram=4096MB=4GBで作成
RHEL-ks.cfgは同じもので、ISOファイルと固有なnameが変わるだけです。
#

virt-install \
--name=RockyLinux92-Sv1 \
--location=/download/Rocky-9.2-x86_64-dvd.iso \
--disk path=/vm-image/RockyLinux92-Sv1.qcow2,size=30,format=qcow2 \
--vcpus=3 --ram=4096 \
--graphics none \
--initrd-inject /vm-image/RHEL-ks.cfg \
--extra-args="inst.ks=file:RHEL-ks.cfg hostname=RockyLinux92-Sv1 console=tty0 console=ttyS0,115200n8"
<RHEL9.3の場合> ディスク 30GB、cpu 3core, メモリ4096
# RHEL 9.3 ディスクsize=30 (GB),vcpu=4 ,メモリ ram=4096MB=4GBで作成
RHEL-ks.cfgは同じもので、ISOファイルと固有なnameが変わるだけです。
#

virt-install \
--name=RHEL93-Sv1 \
--location=/download/rhel-9.3-x86_64-dvd.iso \
--disk path=/vm-image/RHEL93-Sv1.qcow2,size=30,format=qcow2 \
--vcpus=3 --ram=4096 \
--graphics none \
--initrd-inject /vm-image/RHEL-ks.cfg \
--extra-args="inst.ks=file:RHEL-ks.cfg hostname=RHEL93-Sv1 console=tty0 console=ttyS0,115200n8"
自動インストール後の後処理に追加
インストール後に手動で設定していた以下のようなことを後処理(Post処理)に指定できます。
・rootの .bash_profileの編集
・不要なサービスの停止(Firewallの停止/無効化など)
・SELinux無効化
%post ~%end に追加します
<設定例>
# ★インストール後のOS設定。%post ~ %end。FW無効化。.bash_profile設定、SELinux無効化など
SELinuxの設定変更は、再起動が必要です。
#

%post

systemctl stop firewalld
systemctl disable firewalld

echo "alias h=history" >> /root/.bash_profile
echo "alias l='ls -ltrF'" >> /root/.bash_profile
echo "PS1='\[\e[1;35m\][\d \t \u@\h \w]\$\[\e[m\] '" >> /root/.bash_profile

# SELinux disable & reboot
sed -i 's/SELINUX=enforcing/SELINUX=disabled/g' /etc/selinux/config

/sbin/reboot

%end
RHEL用のKickStartファイル
RHEL-ks.cfg コメント付きで説明します。
デスクトップ用途ではなく、サーバ用途で作成しています。
ーーーーー RHEL-ks.cfg コメント付き ーーーーーーーーーーーーーーーーー
# Use text mode install
text
repo --name="AppStream" --baseurl=file:///run/install/sources/mount-0000-cdrom/AppStream

%addon com_redhat_kdump --enable --reserve-mb='auto'

%end

# System language
lang ja_JP.UTF-8

# Network information ★Network DHCPで作成。固定IPの場合はここを変更する
network  --bootproto=dhcp --device=ens3 --ipv6=auto --activate

# Use CDROM installation media ★cdrom=isoファイルからインストール
cdrom


# ★インストールパッケージ。サーバ関連+ツールなど
%packages
@^server-product-environment
@debugging
@development
@performance
@system-tools
@web-server

%end

# Run the Setup Agent on first boot
firstboot --enable
# Do not configure the X Window System。★サーバでCUIを使うのでX-Windowは不要
skipx

# System bootloader configuration ★--boot-drive=vda(環境によってはsda)
bootloader --append=" crashkernel=auto" --location=mbr --boot-drive=vda
#bootloader --append=" crashkernel=auto" --location=mbr --boot-drive=sda

autopart --type=lvm

# Partition clearing information
clearpart --all --initlabel

# System timezone ★Timezoneを日本(東京)に設定
timezone Asia/Tokyo

# Root password ★テスト環境なのでパスワードは暗号化なしでOK
# 使い回したいのとミスを減らすために、--plaintextで指定
#rootpw --iscrypted XXXXXXXXXXXXXXXXXXXXXXXXXXXXXXXX
rootpw --plaintext PWxxxxx

# ★インストール後のOS設定。 %post ~ %end。FW無効化。.bash_profile設定、SELinux無効化など
# ★最後のrebootはSELinuxの変更を反映するため。
%post

systemctl stop    firewalld
systemctl disable firewalld

echo "alias  h=history"    >>  /root/.bash_profile
echo "alias  l='ls -ltrF'" >>  /root/.bash_profile
echo "PS1='\[\e[1;35m\][\d \t \u@\h \w]\$\[\e[m\] '" >>  /root/.bash_profile

# SELinux disable & reboot
sed -i 's/SELINUX=enforcing/SELINUX=disabled/g' /etc/selinux/config

/sbin/reboot

%end
ーーーーーーーーーーーーーーーーーーーーーーーーーー
分かっていないこと(未解決)
2台のKVMのホスト環境で検証しましたが、同じLinuxのゲストOSをインストールしても /root/anaconda-ks.cfg に違いがありました。
bootloaderの部分が、1台は vda、2台目は sdaになっています。
このため、2つのKVM環境でKickstartファイルを1つに統一することができませんでした。
# System bootloader configuration
bootloader –append=” crashkernel=auto” –location=mbr –boot-drive=sda
bootloader –append=” crashkernel=auto” –location=mbr –boot-drive=vda
Kickstartファイルの記載を間違ってインストールすると以下のエラーになります。
—- bootloader –append=” crashkernel=auto” –location=mbr –boot-drive=vda のエラー —
#
anaconda 34.25.3.8-1.el9 for Red Hat Enterprise Linux 9.3 started.
* installation log files are stored in /tmp during the installation
* shell is available on TTY2
* if the graphical installation interface fails to start, try again with the
inst.text bootoption to start text installation
* when reporting a bug add logs from /tmp as separate text/plain attachments
04:59:24 Not asking for VNC because of an automated install
04:59:24 Not asking for VNC because text mode was explicitly asked for in kickstart
自動インストールの開始.ストレージ設定を保存しています...
.ストレージ設定の保存に失敗しました
.指定されたブートドライブ "vda" と一致するものがありません。★エラー
——–
暗号化したパスワードの発行方法
今回は、「rootpw –plaintext PWxxxxx」でプレーンテキストを指定する方法を紹介しましたが、暗号化したパスワードの発行方法です。
以下のサイトに詳しく書かれています。
https://endy-tech.hatenablog.jp/entry/linux_kickstart_via_http
python -c ‘import crypt,getpass;pw=getpass.getpass();print(crypt.crypt(pw) if (pw==getpass.getpass(“Confirm: “)) else exit())’
# python -c ‘import crypt,getpass;pw=getpass.getpass();print(crypt.crypt(pw) if (pw==getpass.getpass(“Confirm: “)) else exit())’
# Password:
# Confirm:
最後に
KVMは、検査環境などの作成に非常に便利で重宝していますが、メジャーではないので情報が少ないですね。。
調べてやってみないと先に進みませんが、だいぶノウハウが蓄積してきました。
Webの情報だとうまくいかないことが多いので、いろいろ試行錯誤中です。